
Here is a step by step Tutorial on how to make a padded headboard all by yourself! Total DIY and very budget friendly!


I have always wanted a padded headboard, but I could never afford the prices on them. It is insane that someone could really charge $500 for something so simple. This project took me around a day to do, and that was with coffee and food breaks as well as a trip to the store that is over 30 miles away.

Here is a great comparison, on something that I wanted to produce myself, $1840.00. I don't know about you, but our budget is a very tight one, so I did some internet research and decided to try this one out for myself! I hope that you find this post inspiring, because you can do this! I did this entire project on my own with the exception of needing someone to help hold and move the headboard.

- 2 Pieces of 3/4" MDF Board cut to your desired size (home depot will cut this for you so please don't be scared)
- 1"x 3" Lumber to make your border
- 1" thick foam to cover the headboard, it is OK if this is pieced together
- High Loft Batting, you will need to cover the headboard twice with this, with enough room to staple to the back of the headboard.
- Fabric, enough to cover the headboard, plus enough to pull behind to staple and secure.
- DIY buttons, I used 1 1/8" buttons that come in the kits you can snap together.
- Wood Glue
- Hammer
- Clamps
- Saw
- Staple Gun
- Desired Paint
- Paint Brush
- 1 1/2" Wood Screws
- Thick string or cord
- Drill with Drill Bits
- Sander
- Long Needles with a large eye
- Spray Adhesive

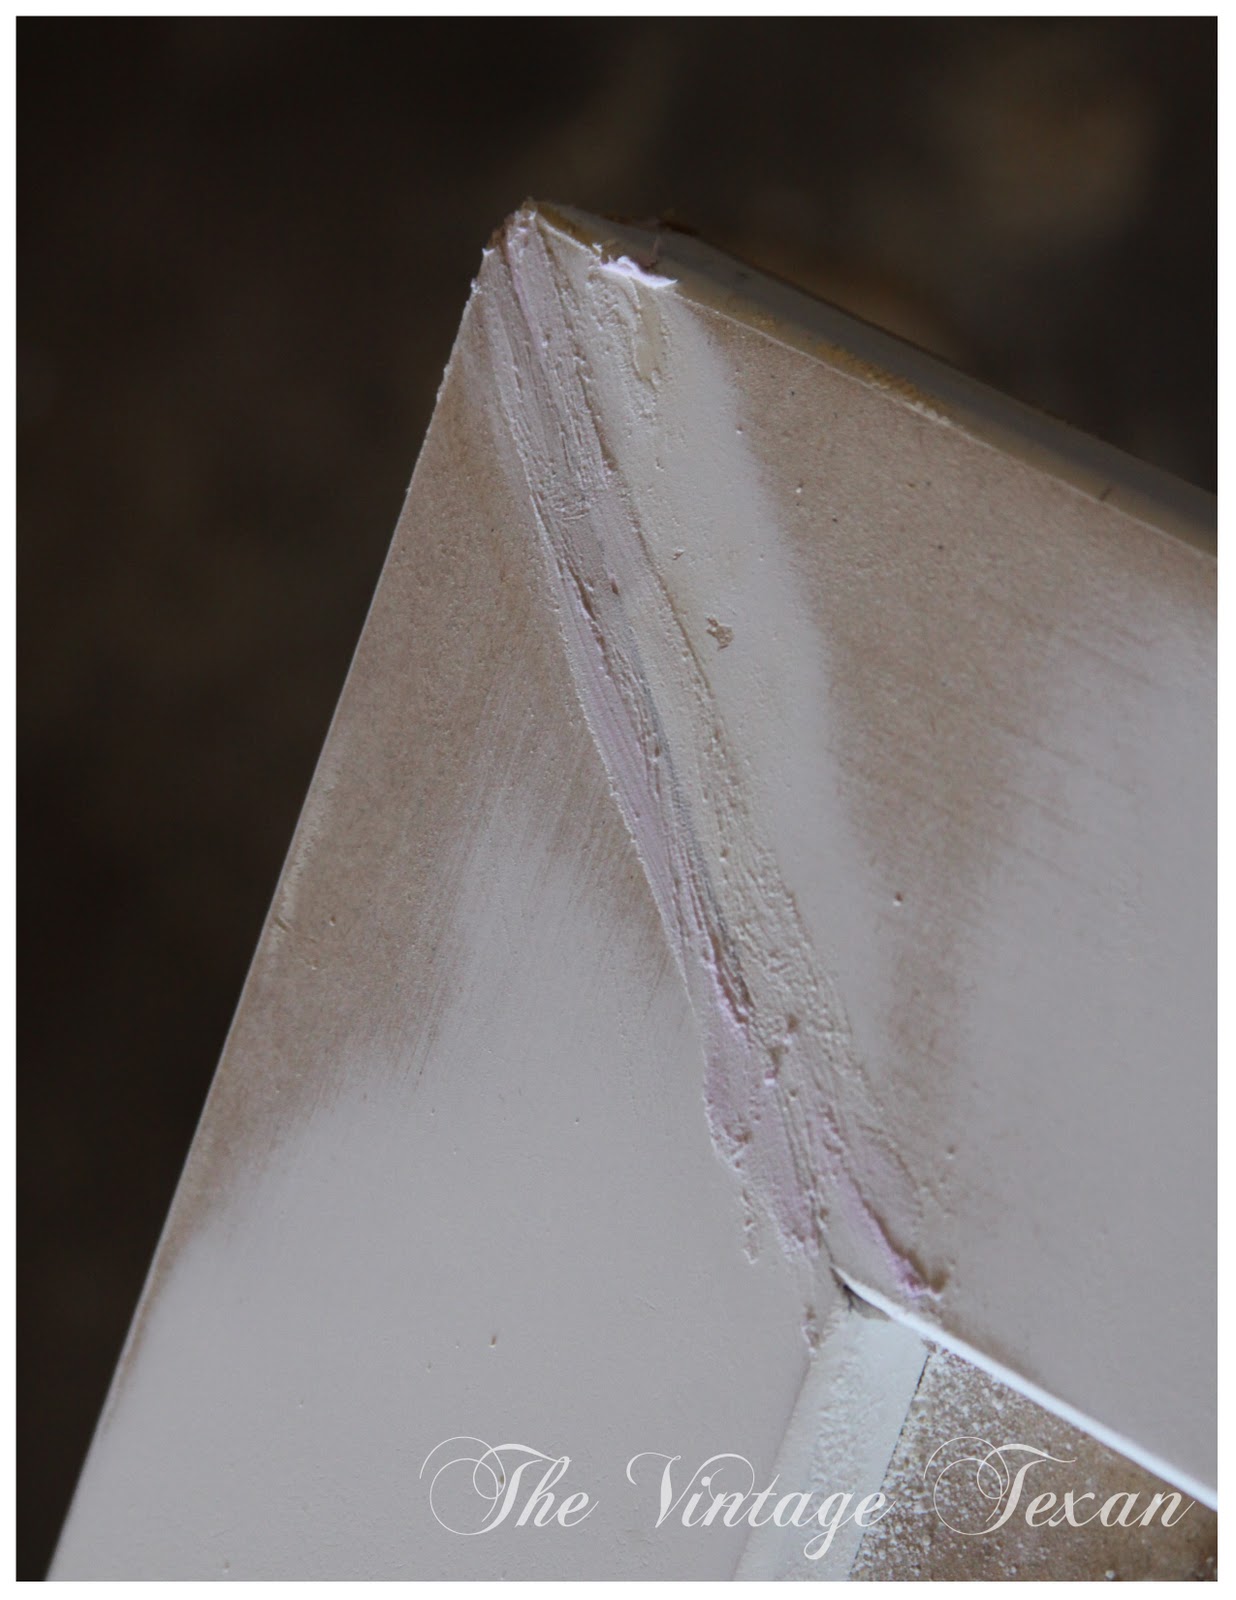
1. Get your MDF Cut at whatever store you buy it at. Home Depot and Lows both have the tools to cut this big piece of lumber. For a king size bed I used the measurements of 80" x 36" . I felt this gave me enough over hang for the piece of wood. When cutting your smaller size remember to measure your border wood, there is always a 1/2" difference.*HINT* When you get your second piece of MDF cut make sure to leave 1/4" on each side to account for the padding when you cover the board.
2. Once you get home you want to cut your border pieces. You only need 3 since the bottom of the headboard will not be seen. Cut the pieces at a 45 degree angle so that they will fit together in a squared position.


3. Glue your border pieces down and clamp the wood together, follow the directions on the wood glue, and allow the pieces to sit for at least an hour.


4. Once the glue is dry you will want to pull off the clamps and sand it smooth. You can use the wood glue to fill in any cracks that may be in the corners.

5. Now you get to paint your border pieces. Make sure to make the paint go 2" to 3" inside of the wood, so if any of it may show through at least it is covered.


11. The fun part now is going to be to make your buttons, it is possible to cover vinyl with the DIY buttons, but it is going to take patience. I actually had to go back to the store and buy some thinner vinyl that matched the headboard. Take your time, its going to be frustrating, but making matching buttons is worth it!
12. Now you are going to adhere your buttons to the board. To get the pressed in look of the buttons you are going to need two people for this. Start by sticking a need in the backside of the MDF to find your hole, then thread the needle with the button tied with a knot on the end, and stick it through to the backside of the board. Have some one one the front pushing the button in as the person on the backside pulls the button string and staples it in a zigzag style.

13. Finally once all of the buttons are done you are going to screw the padded MDF to the backboard with your screws. This will also probably take two people, one to hold and push and the other one with the drill.
14. Now all that is left to do is mount the headboard to the wall! The Hangman Store sells their products at Lowes in the hardware section around where the anchors are. This is a great little kit that can hold up to 200 pounds. We used two of these one on each side for extra security!


I hope you enjoyed this tutorial, and I do hope that you venture out to find that you can do this yourself and give it a shot! I plan on trying to make a molded one out of a funky design soon to go into my guest bedroom. Let me know what you think about my project!


Wow, your headboard is awesome! I love a thrifty project that turns out looking like a million dollars. Great tutorial too.
ReplyDeleteThis is so, so many degrees of seriously awesome, crafty fabulousness. Amazing job, sweet gal, thank you so much for taking us through the steps involved with making this headboard and sharing the gorgeous final product with us.
ReplyDeleteBig hugs & joyful wishes,
Jessica
OMG - soo creative! I LOVE this!!! Found you from the Tuesday link up at Coastal Charm. Stop by, say hi and stay awhile -
ReplyDeletehttp://www.willblogforbeauty.com
xo Kristle
Fantastic tutorial! I have been considering doing one for our bedroom and this will certainly come in handy if I decide to. Glad I found your blog on Debbiedo's Newbie Party! I will now be a follower.
ReplyDelete